
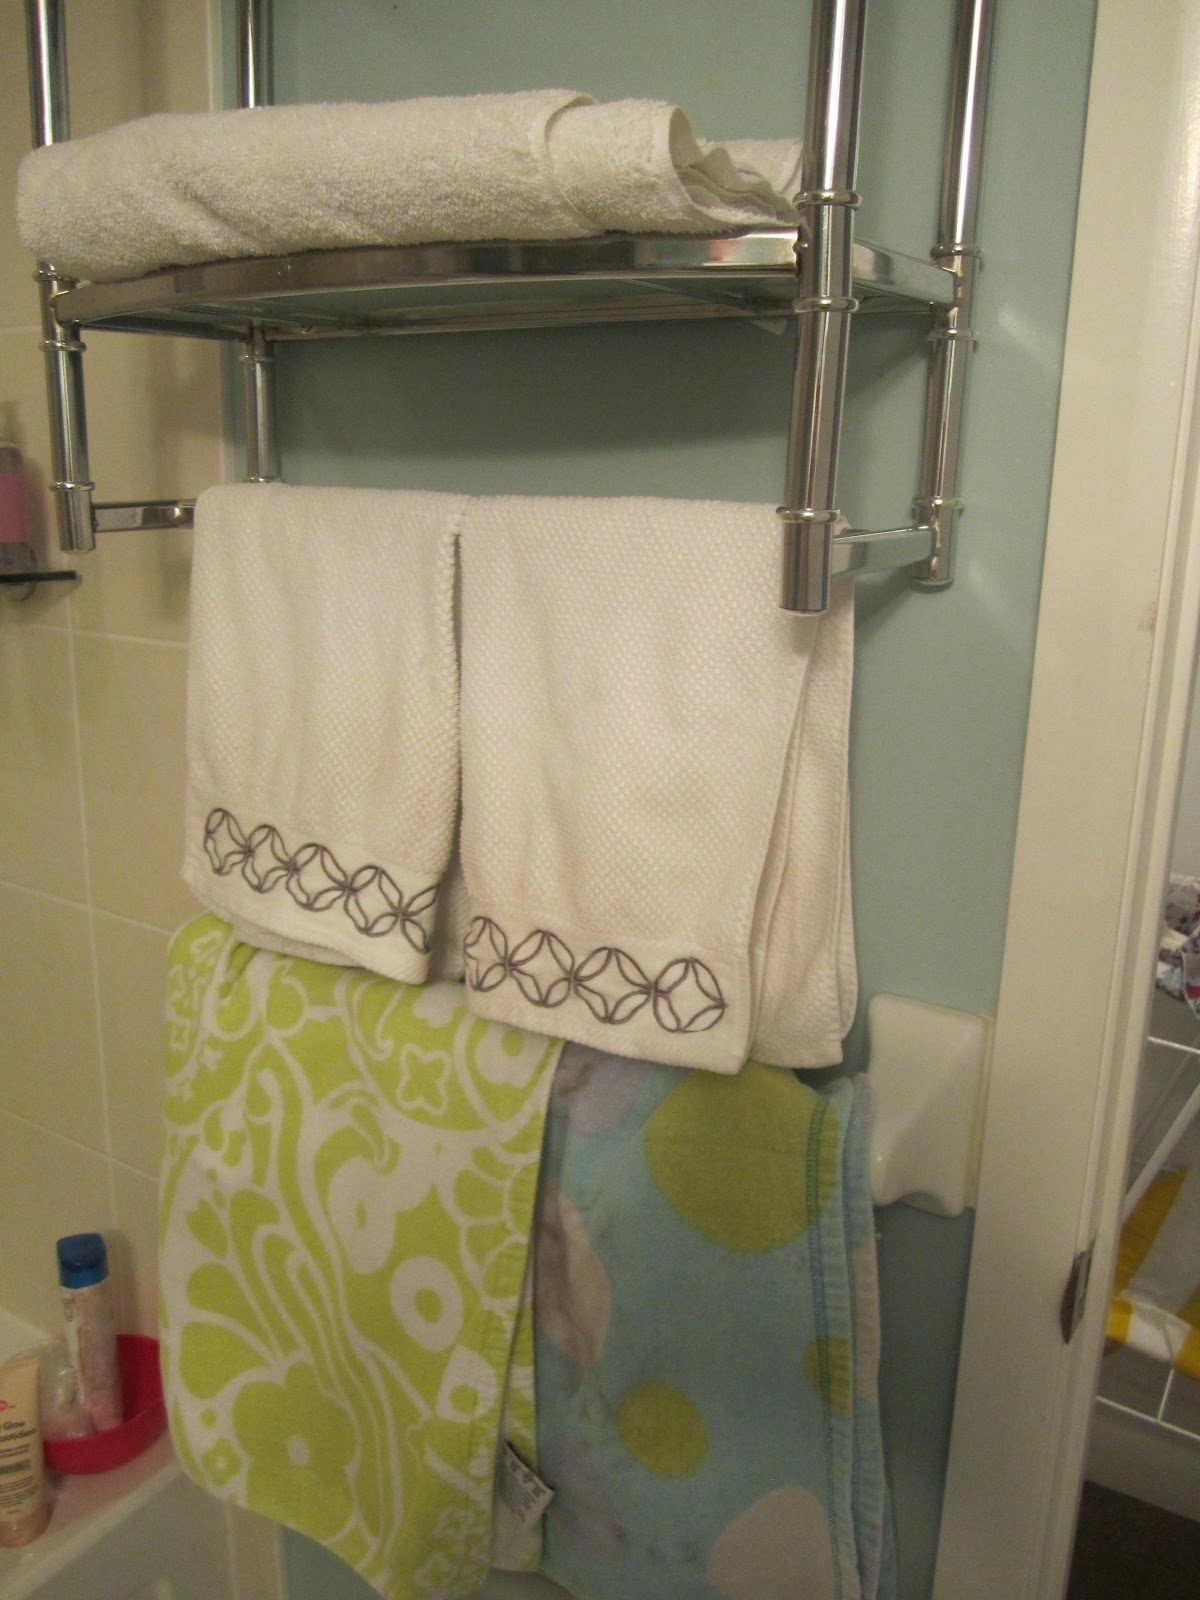
When I first moved in, my dad and I added the shelving so that I could store towels in the bathroom and have a space for hand towels. But now that I need two towels to shower (due to my Anthralin Treatment- see tab for Alopecia at the top) I was getting sick of the "towel wall". I think what I will eventually do is install a single hand towel hanger by the sink and have a single bath towel hung from the shelf.
What this means is that I no longer need the hideous builder basic plastic towel bar! In the meantime (since I still need placed to hang towels and I haven't made up my mind on anything) I picked up this $12.99 back of the door hanger thing.

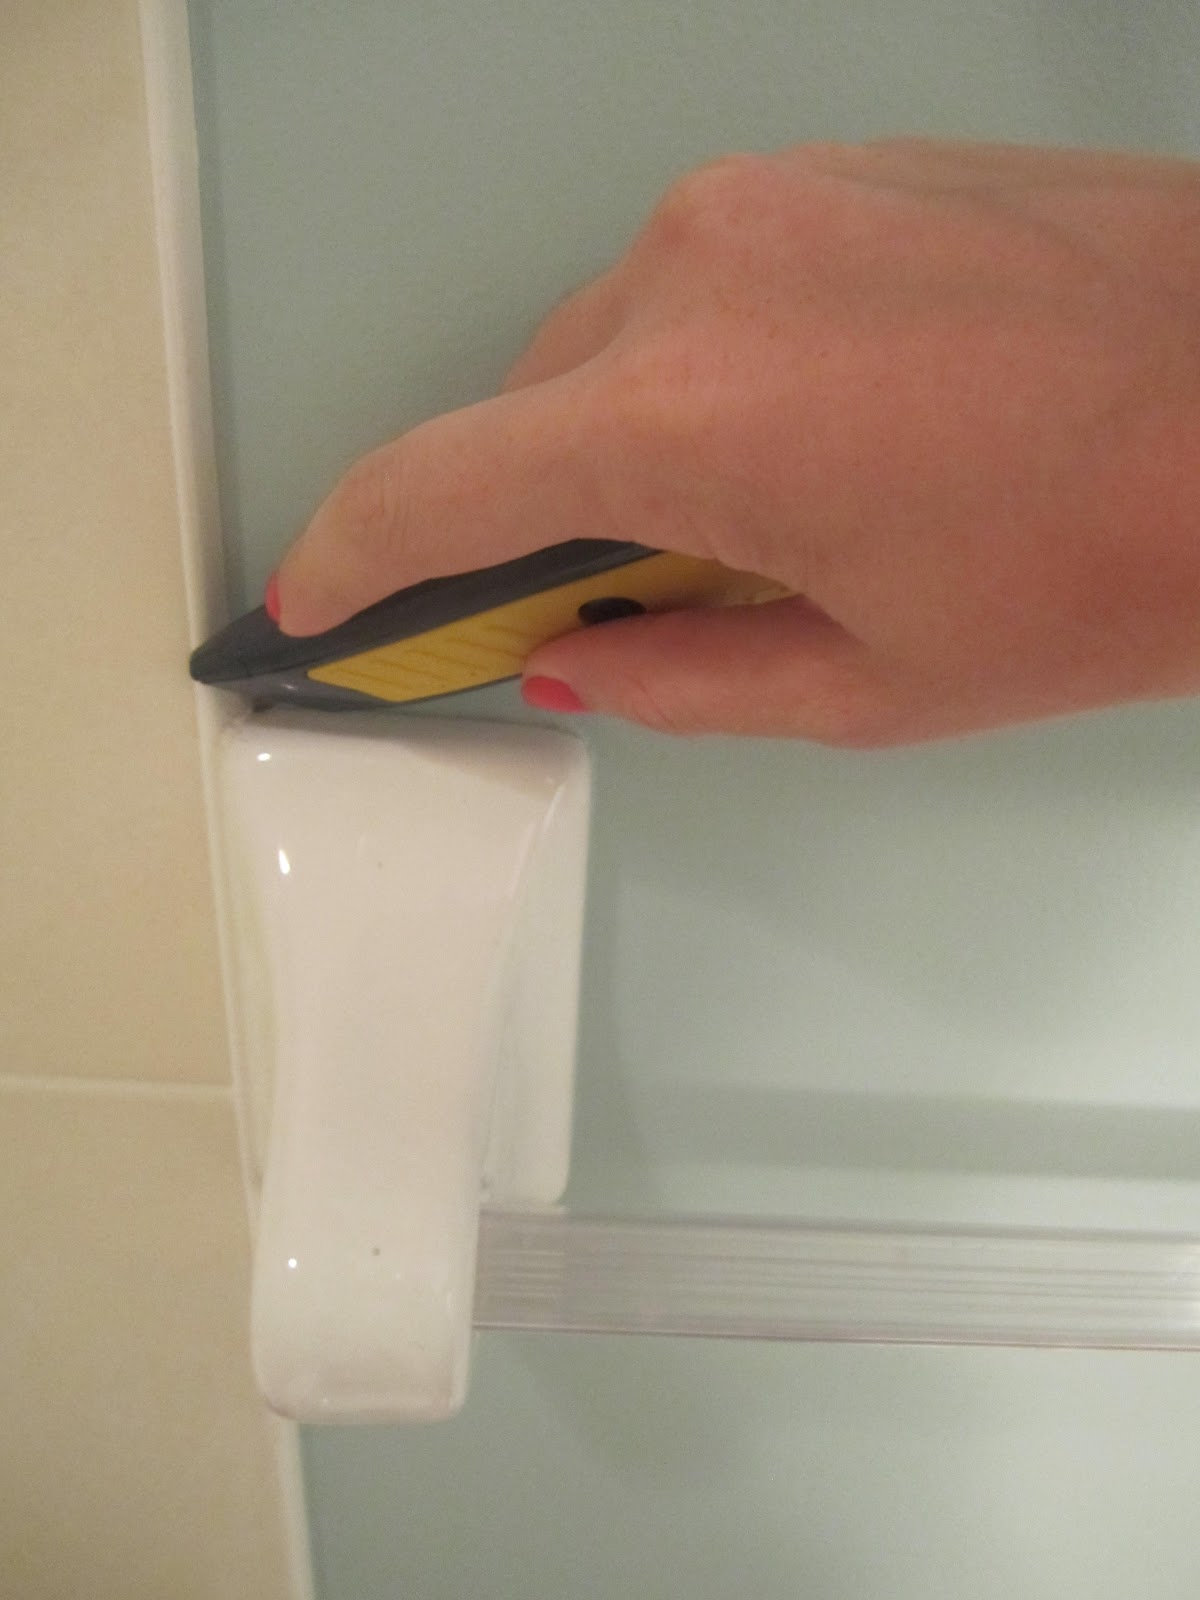
Then I got down and dirty! Now my towel rack consisted of two brackets that were glued and caulked to the wall. The first thing to do it score along the caulking to break the seal:
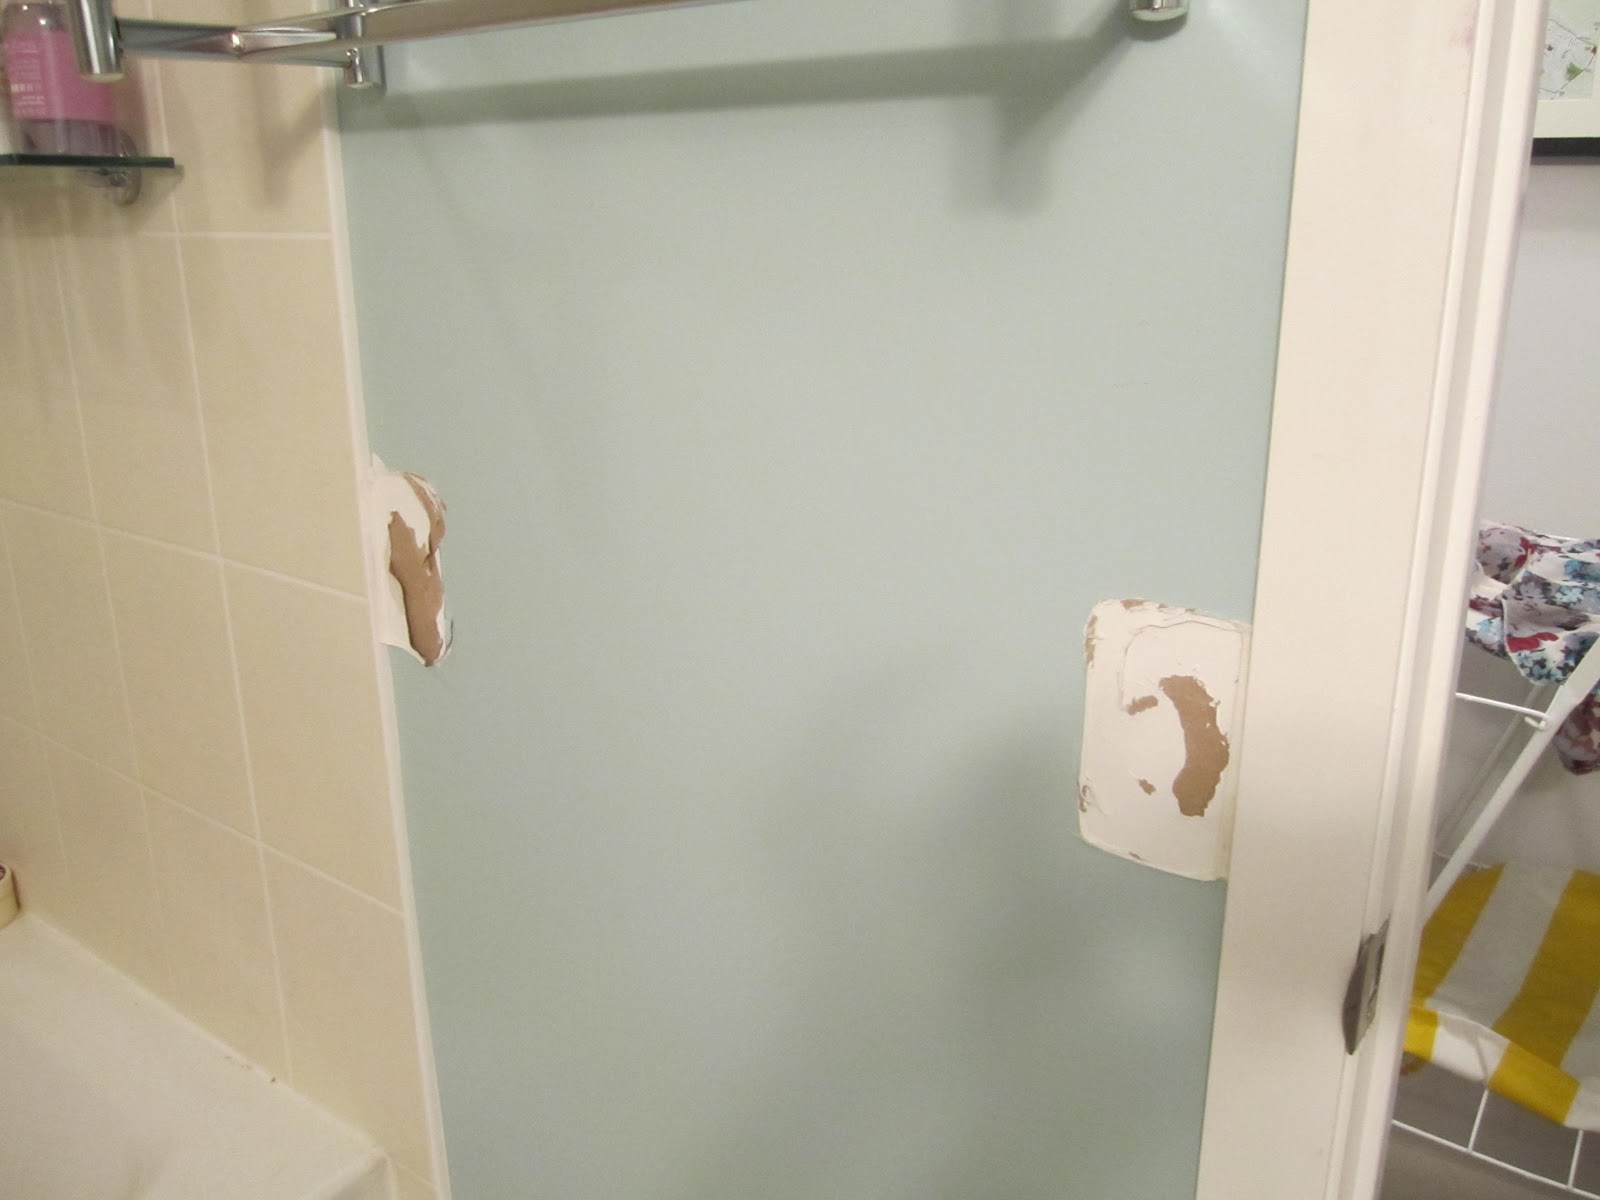
Then use a metal putty knife in the corners and tap it in with a hammer. Try to angle it as best as possible away from the wall to avoid damage. Do a bit on each corner and you will feel it start to lift (your bar will fall out. haha). Then slide your knife in the side and carefully pry it off the wall.


Ta-da!
 |
| The one on the right looks happy |


Now, last time I "puttied" I did a horrible job and it shows through the paint. So this time I took my time and did three thin layers (allowing the putty to dry from pink to white each time) and sanded in between each layer. Once I was happy, I could paint!!
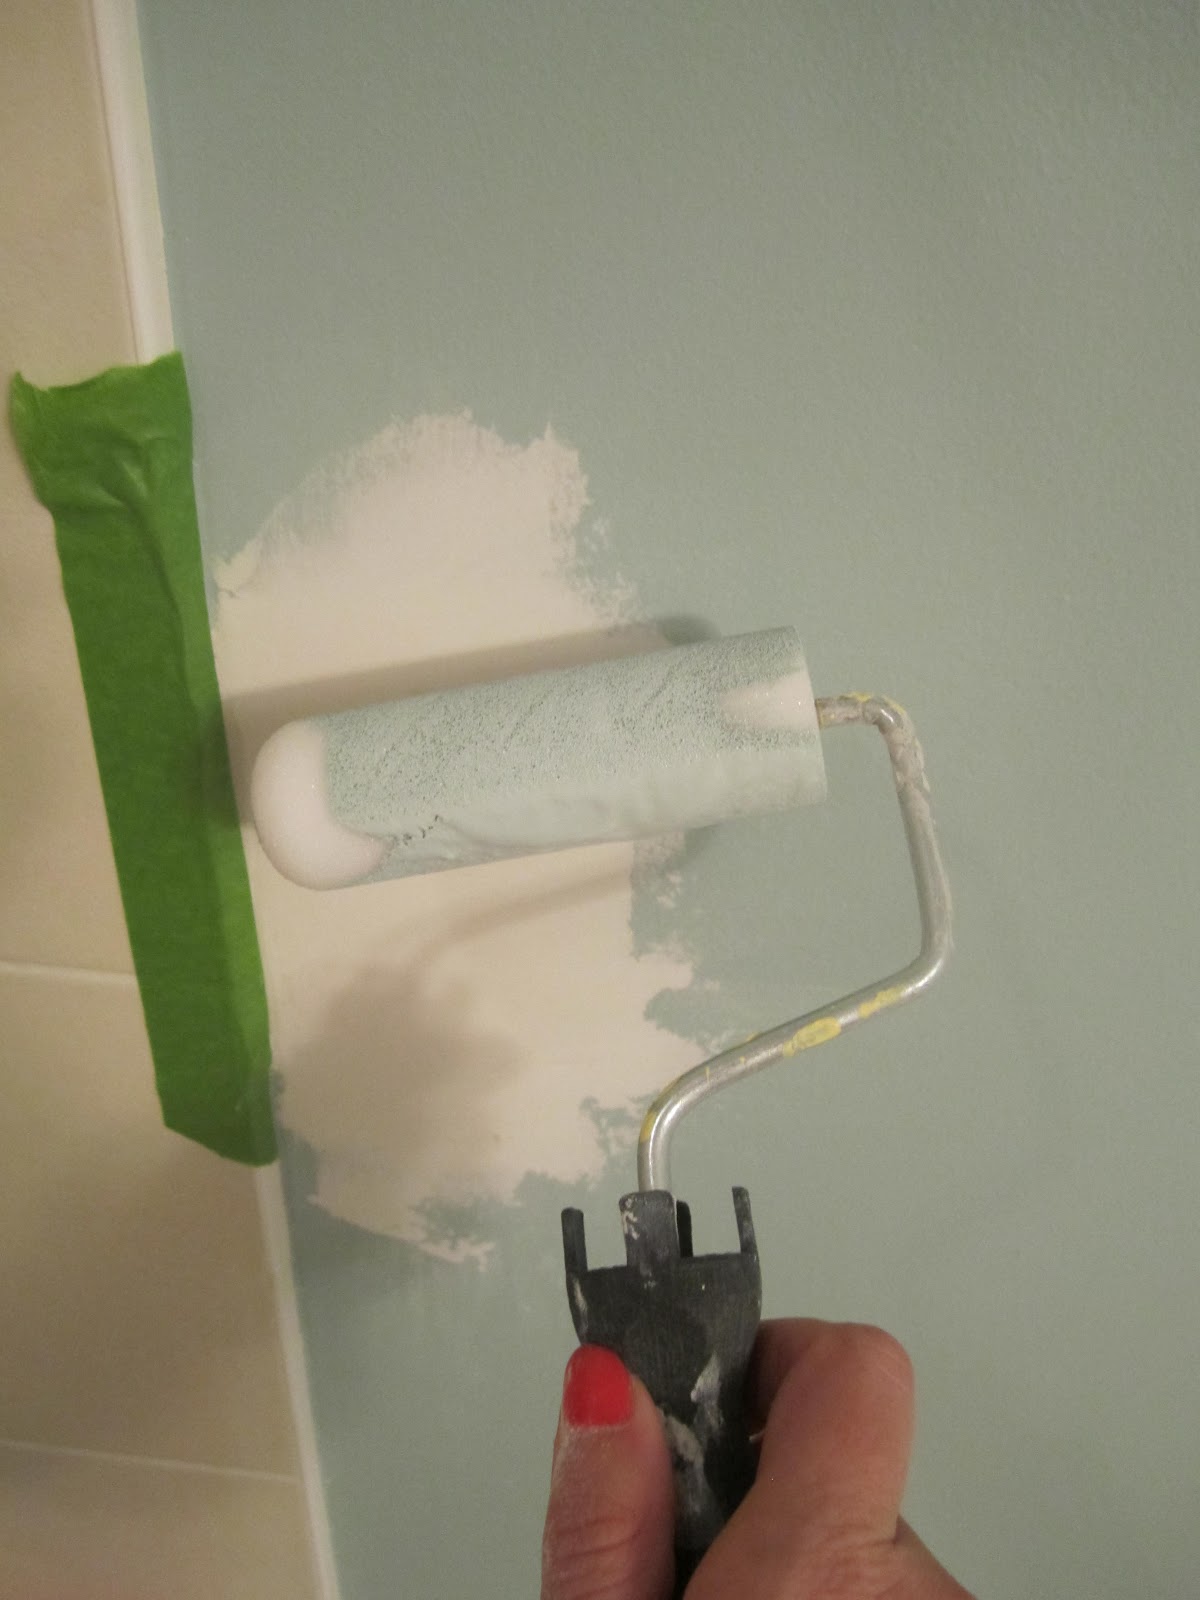

Oh ya baby! This is a proud moment for me because I usually screw things things up and I have to call my dad crying to come fix it. hahaha
FYI- the previous homeowner picked this colour and left the can behind for me. It is Ralph Lauren Interior Satin in "Impressionist". I can't find it on their website, so maybe it was discontinued? But I shall give away the secret (shh):
 |
| Ralph Lauren Impressionist Paint Colorant Code |
The final product: Much less towel-ly
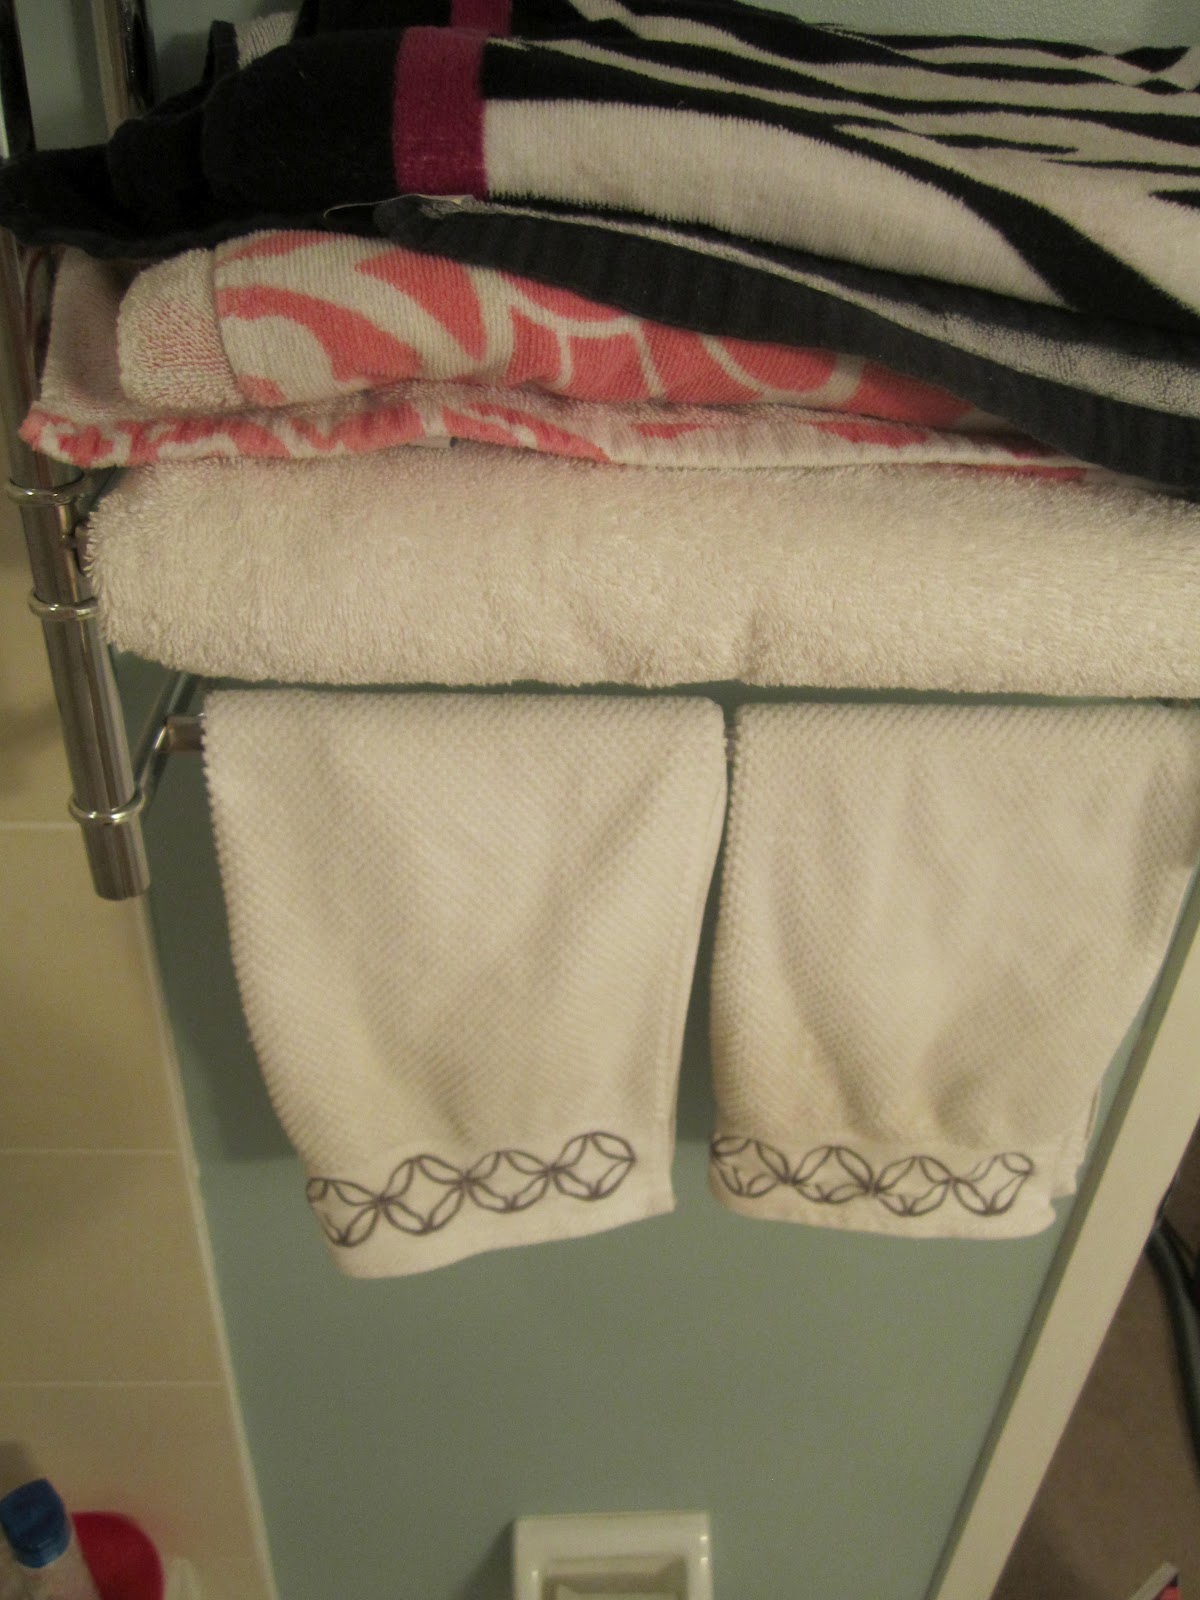 |
| Note to self- fold towels nicely before taking shots |
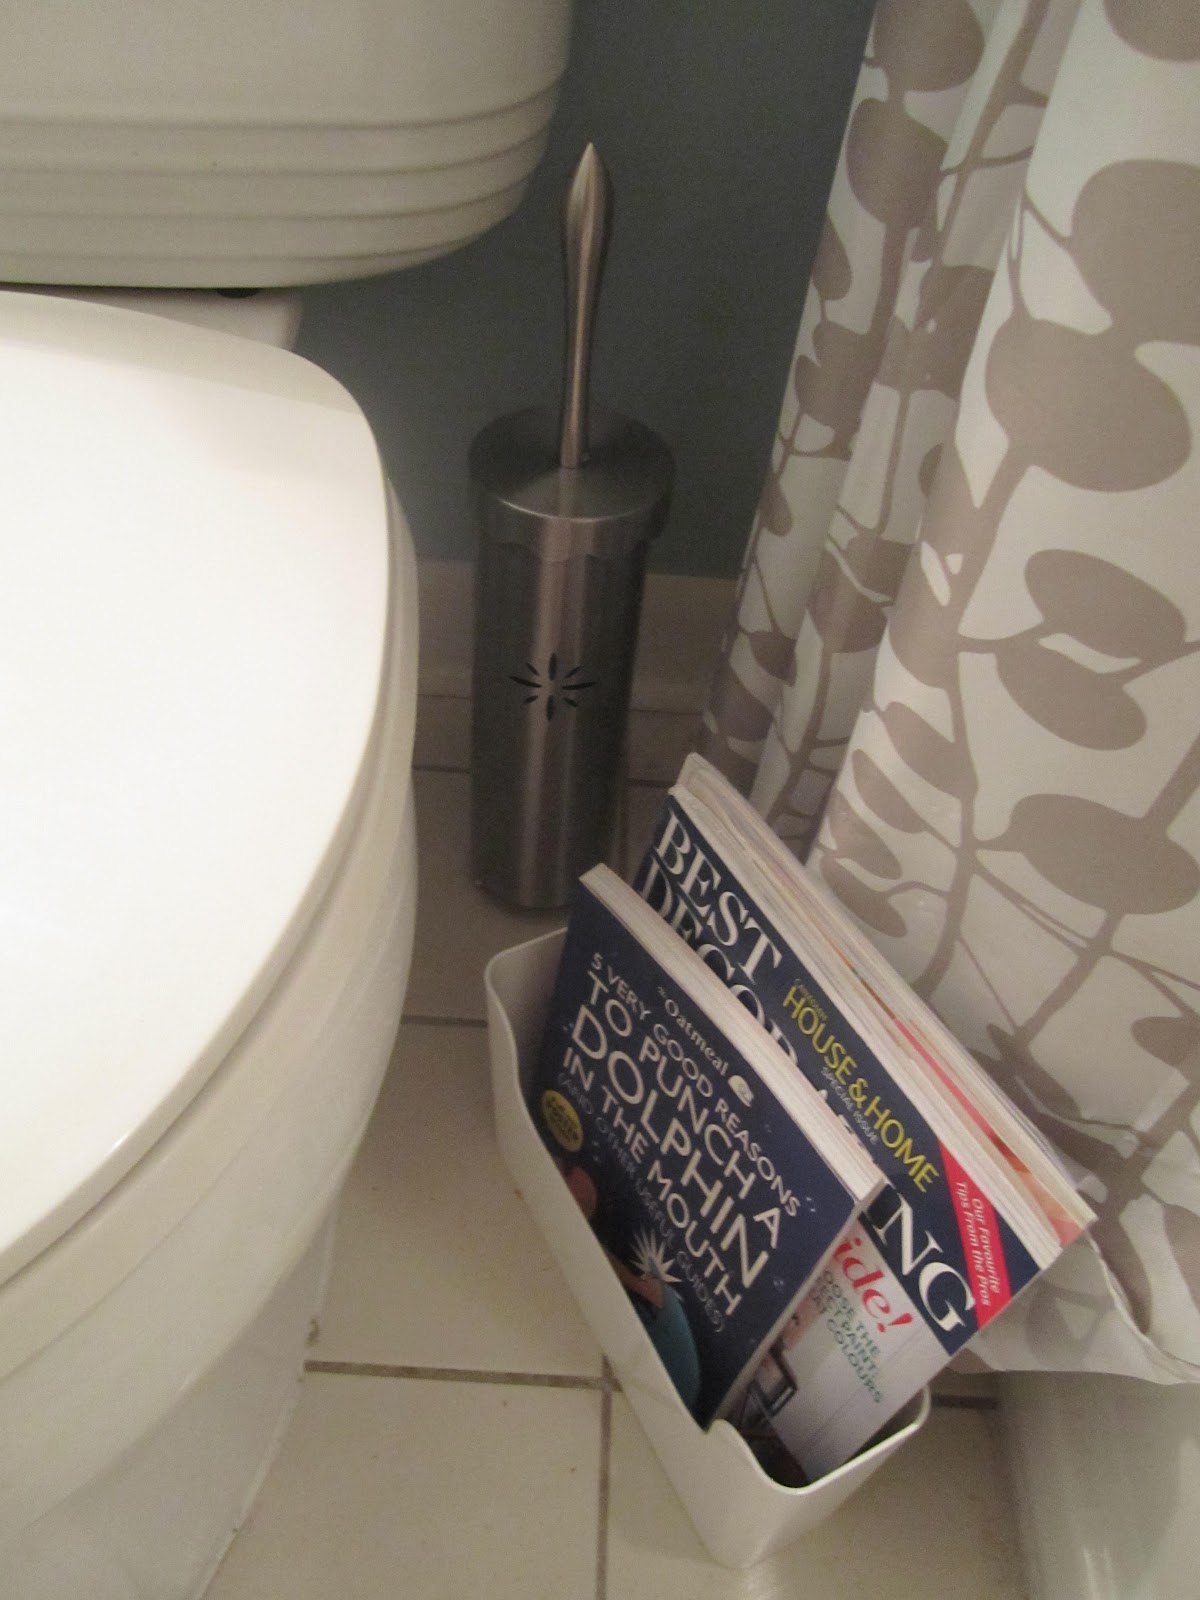
By the way, please don't tell me I am the only person who likes to keep magazines in the bathroom? haha. Usually I keep them behind the shower curtain (there is a liner on the inside of the shower so they don't get wet) because that seems more sanitary.
So there you go! Total update cost (things I didn't already own):
Door hanger thing: $13
New metal putty knife: $7
Toilet brush holder: $15
Magazine holder: $10
So $45 and a little sweat and I am well on my way to a sexy new bathroom!!

Damn Girl! That is one nice putty/paint job! So smooth!
ReplyDeleteYa... don't mount your magazine holder.
If you look closely (ie in person) you can see it is actually smoother than the wall so its semi-noticable. hahaha
DeleteI love the paint colour!
ReplyDeleteThis is great - I inherited the same towel bar as you had and was wondering what to do. Thanks!
ReplyDelete